
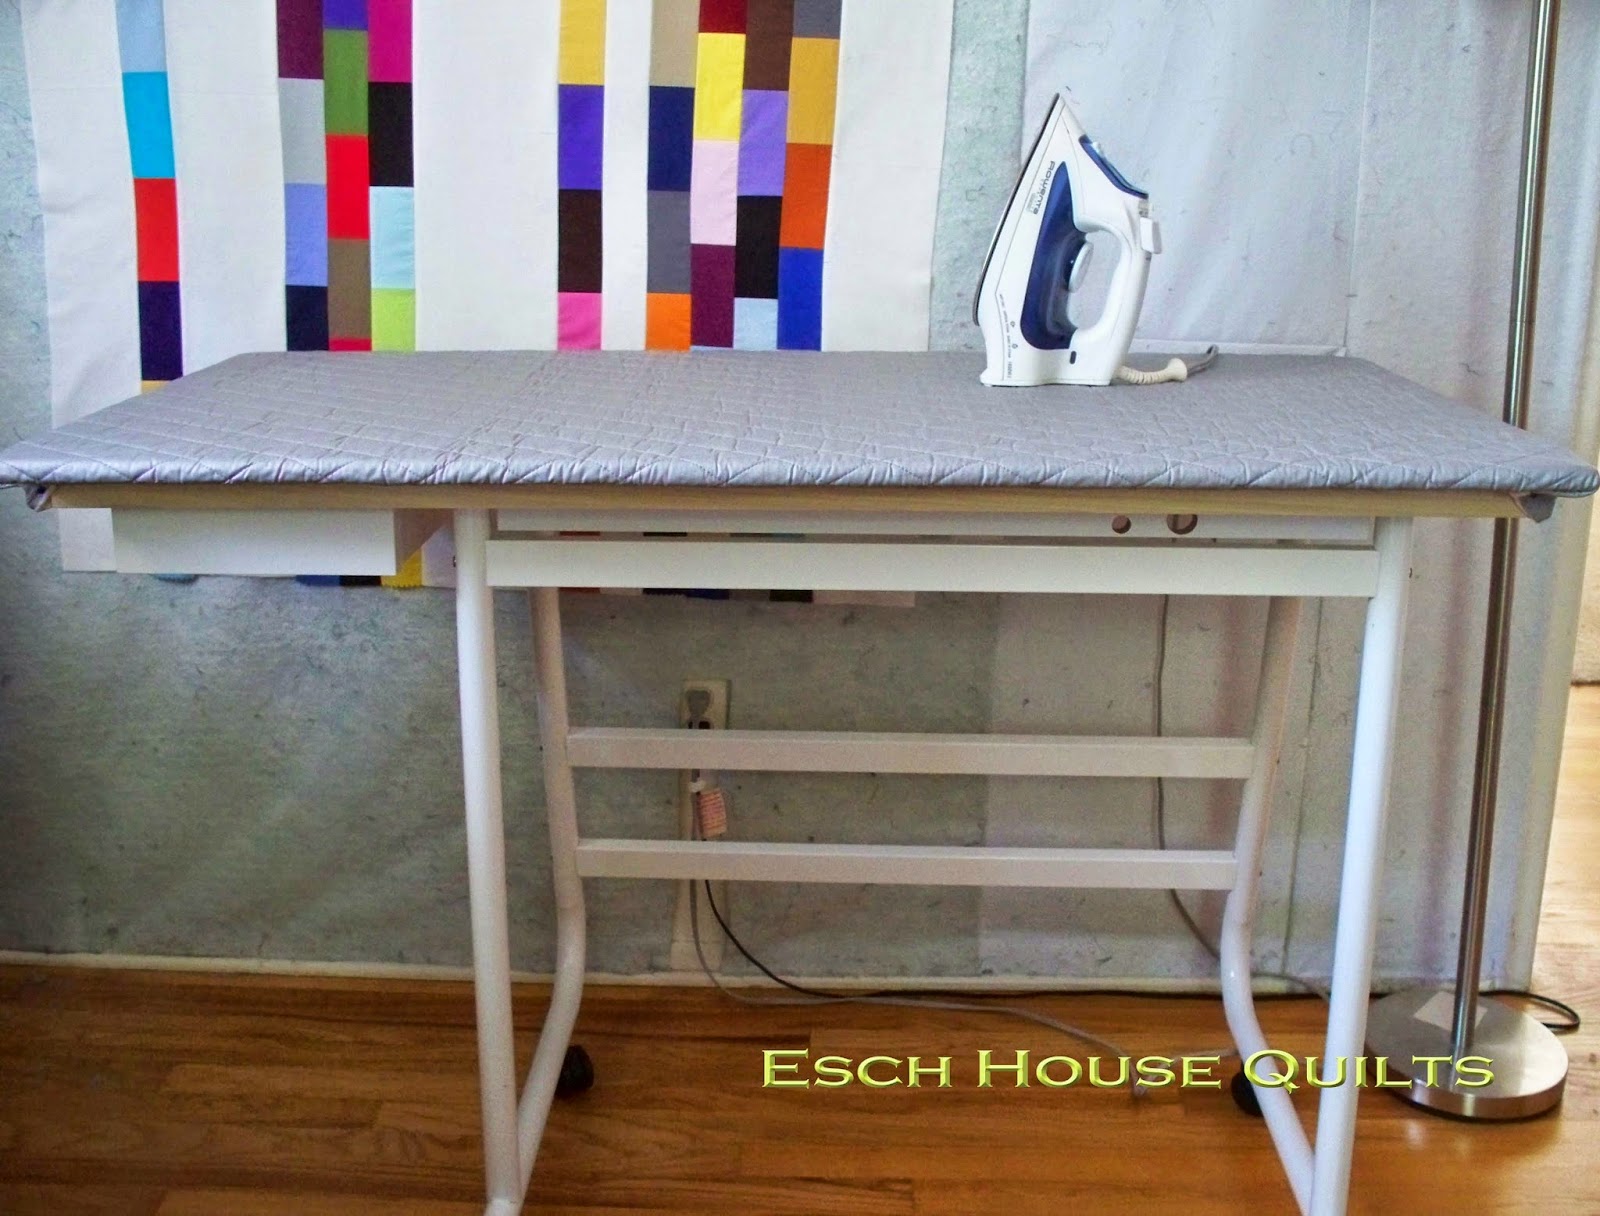
07 Aug Do-it-yourself ironing surface!

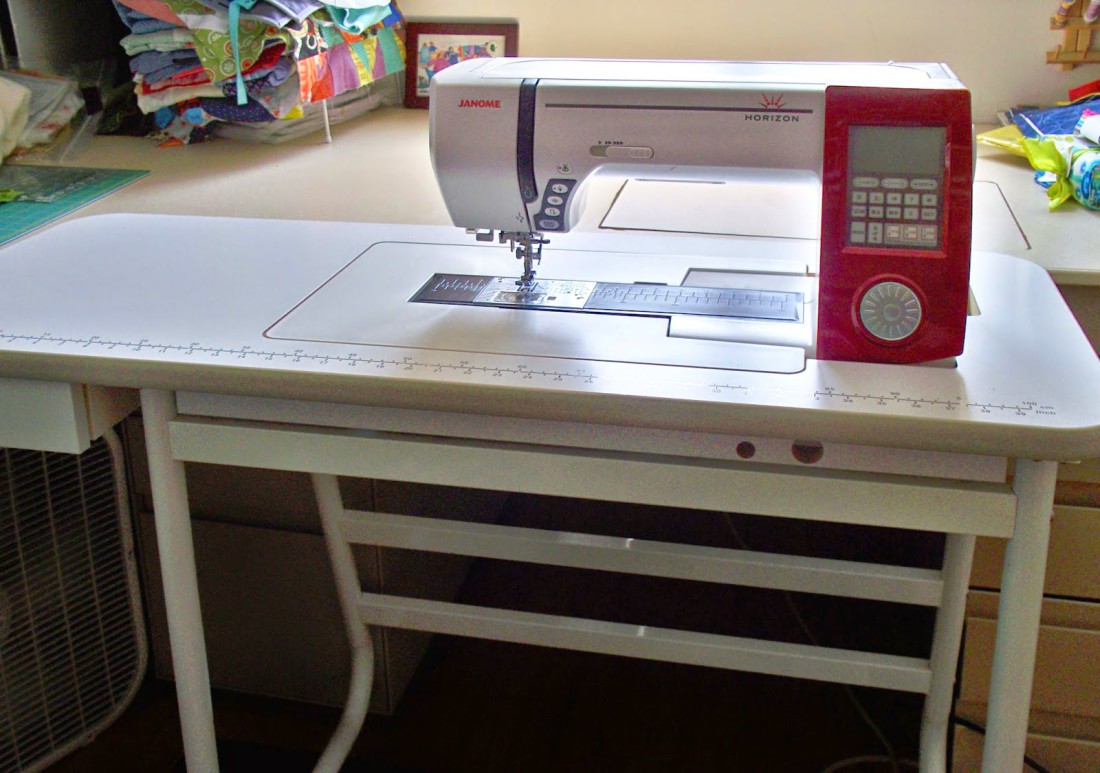
I wanted to tell you about the fantastic new ironing surface my husband and I put together for my sewing room. For years I have used a regular ironing board and that has worked fairly well. However, when I bought my new Janome in November 2012 I also bought a table that it sits in. I don’t have the space to leave it in this table all the time – it would block all the drawers in my desk. It is fantastic for quilting though.
 |
| Ignore the messy parts! – #honestcraftroom |
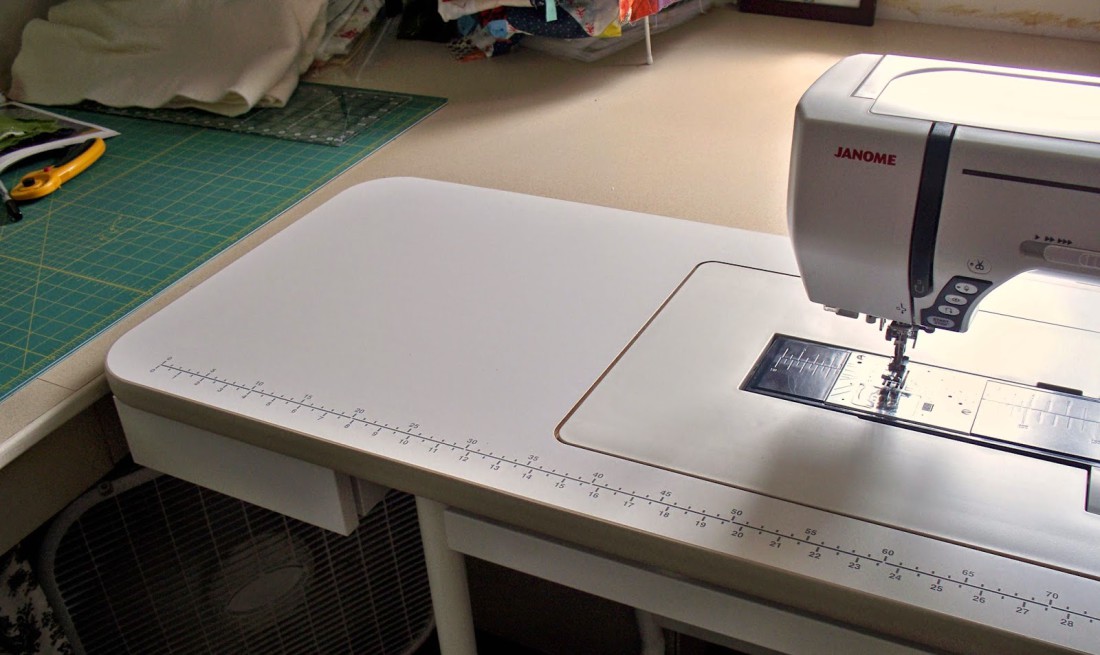
My sewing room has an L shaped counter and the table fits nicely into the corner of the L, giving me support and space all around the machine.
But what to do with it when I wasn’t quilting? My first, fast solution was to take a piece of glass from an old coffee table, wrap it in quilted Teflon fabric and set it on top of the table. I also had my husband put some casters on the legs so I could move it around the sewing room easily. This quick fix worked quite well, but the glass was a bit smaller than the table and I wanted to be able to iron a full width of fabric. I took some measurements and made some calculations and decided that a surface about 24″ x 52″ would be perfect. When we got to the home improvement store they had pre-cut pieces that were 24″ x 48″ so I lost a few inches in the interest of speed and saving a few dollars. We also bought some 1″ x 2″ pieces to make a frame on the underside of the top.
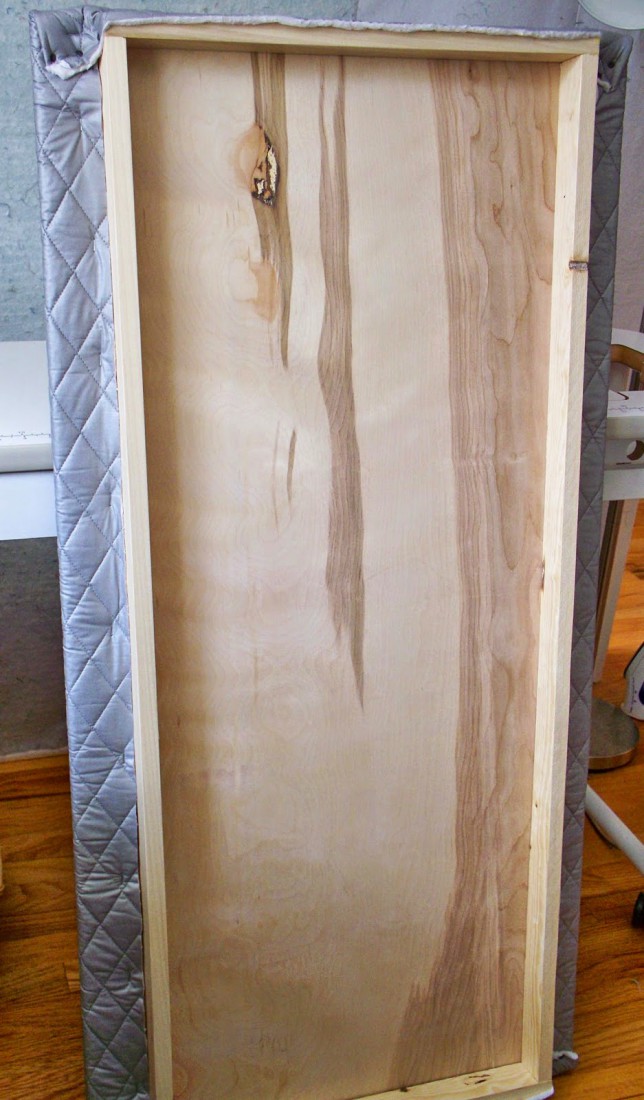
My husband attached the 1″ x 2″ pieces so they fit snugly around the sewing machine table. Then he attached the top and we wrapped the teflon ironing board fabric around it and stapled it in place. And voila!
It isn’t as big as one of those “big board” ironing boards that you can buy commercially, but it works well for me.
Handy husbands are awesome, but, honestly, I really could have done all this myself (shhh, don’t tell him – he likes to do things for me :)).
What do you use for ironing and pressing?
PS Sew Solid Sunday is on vacation for August – it will return in September on the second Sunday as usual!
Ramona
Posted at 21:27h, 08 AugustI probably should have added that when I bought the board it came in 4' x 4' piece. I had Home Depot cut in half and then half again. So I had one 2' x 4' and 2 pieces 2' x 2'. the small board gets more use than the large board. It's great for ironing as you piece and it can sit on my cutting table. No ironing board taking up space. Total win for me.
Ramona
Posted at 21:25h, 08 AugustI made something similar as well. 2' x 4' board (had some weird initial/name and didn't warp with steam and heat), covered with batting and canvas. I set it on top of my cutting table when I want to use it. I love it for ironing yardage or quilt tops prior to quilting. Good job on yours.
Sharon
Posted at 03:50h, 08 AugustI've wanted one of these for awhile. I guess I should ask my guy to make me one!
cinzia
Posted at 19:41h, 07 Augusti made something similar that sits on top of my regular ironing board. Great for ironing large amounts of fabric.