08 Feb Facing a quilt
Most of the time, I love the final bit of color and design a binding adds to a quilt, but there are times when it just doesn’t work. Sometimes, I want the quilt to stop at the edge and using a facing is the perfect solution. So here is how I do mine:
1) I like to use fabric for my facings that matches the quilt top as much as possible. That way it won’t show as much if the edge isn’t perfectly folded. I apply my facings to one side of the quilt at a time, starting with two opposite sides and finishing with the other two sides. For simplicity’s sake, let’s say we will face the sides of the quilt first and the top/bottom second, but you can do it the other way around if you prefer. I have used contrasting fabric for the purposed of this tutorial so you can see things better.
2) Cut 2 1/2″ strips just as you would for binding, but don’t sew them all together in one long strip. Sew them together so that you have two strips that are the length of the quilt and two that are 4″ bigger than the width of the quilt.
3) Starting with the shorter strips, press under 1/4″ on the long edge of the facing strip. Using a 1/4″ seam, sew this strip, right sides together, to the side of the quilt top. Repeat for the other side.
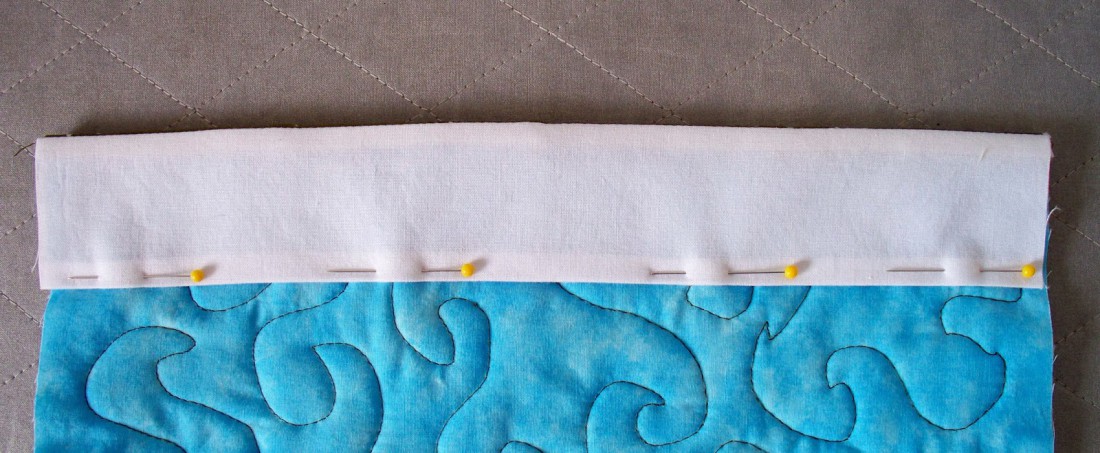
4) Press the facing all the way to the back of the quilt so none of it shows on the front.
5) Pin the facing in place along the pressed under edge and hand stitch in place.
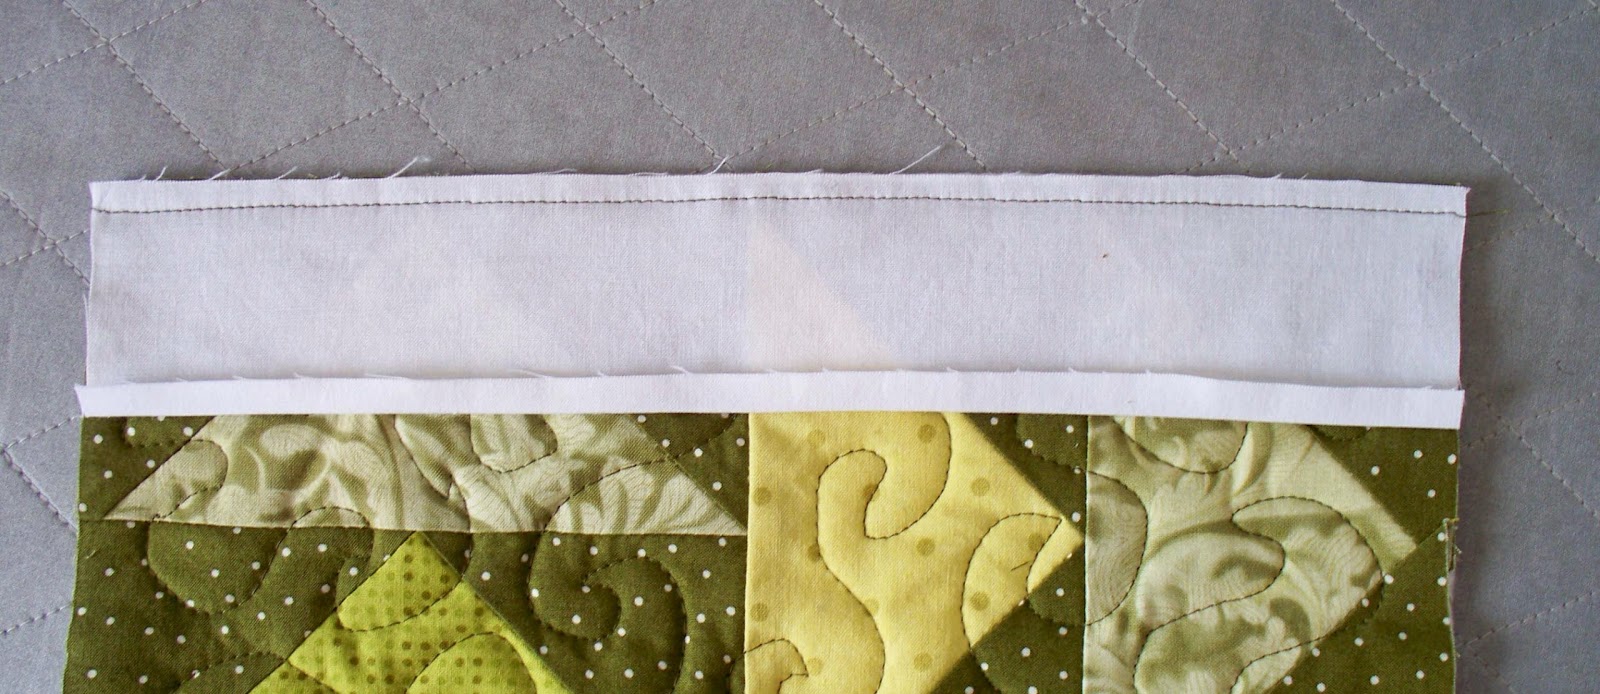
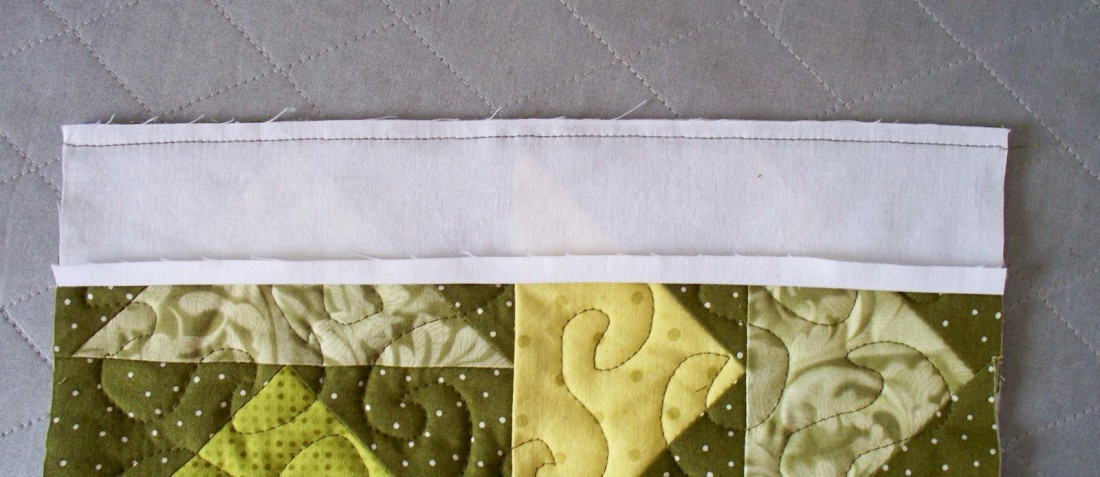
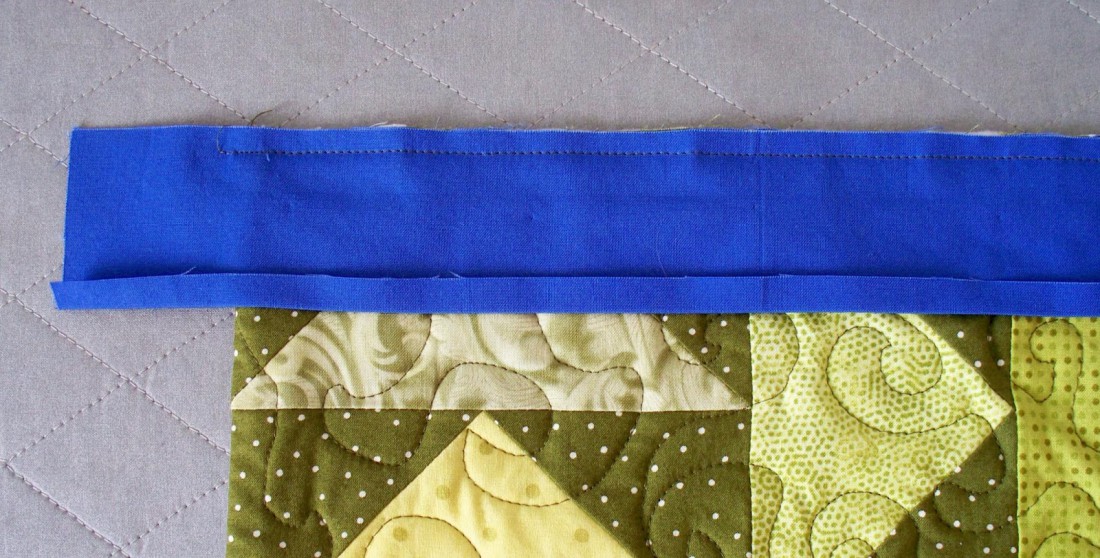
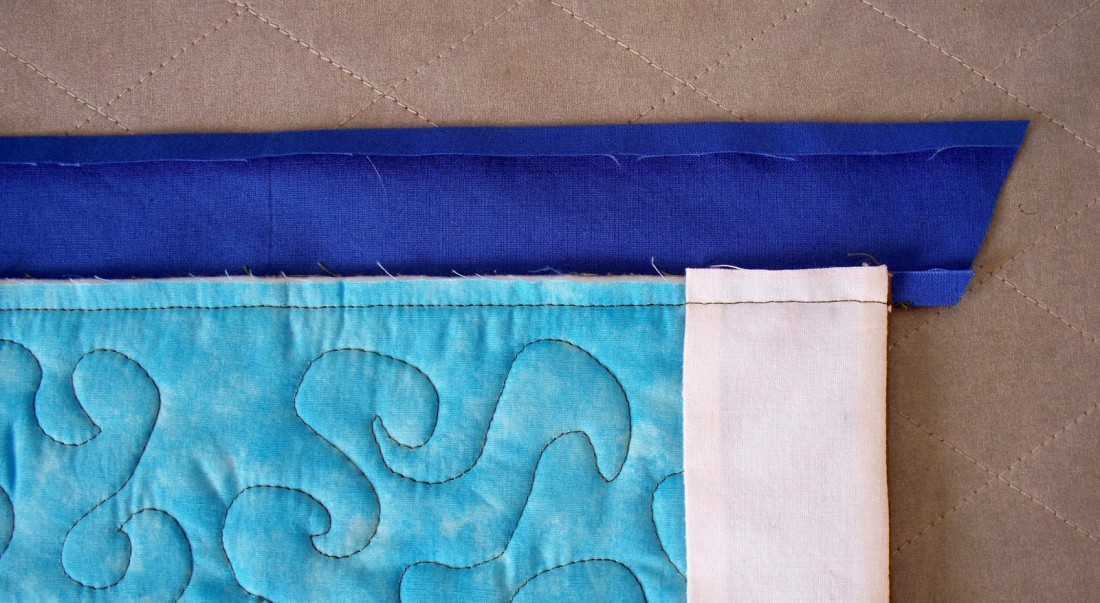
6) Match the center of the top edge of the quilt with the center of one of the longer facing strips. Pin it to the right side of the quilt top, right sides together, so that about 2″ of facing sticks out on either side. Stitch using a 1/4″ seam. I used another color here to make it easier to see.
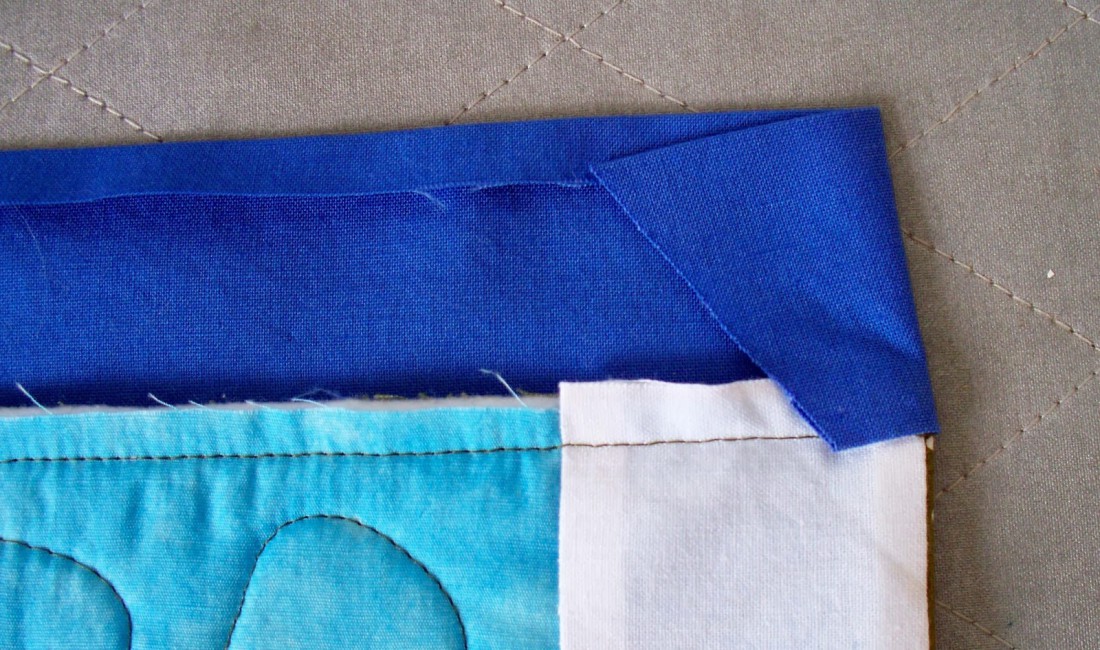
7) Press the facing away from the quilt top. Trim some of the excess away as shown. Don’t trim too close to the seam as the end needs to wrap around the seam allowance and you don’t want it to be too short. You can always trim more later if you like.
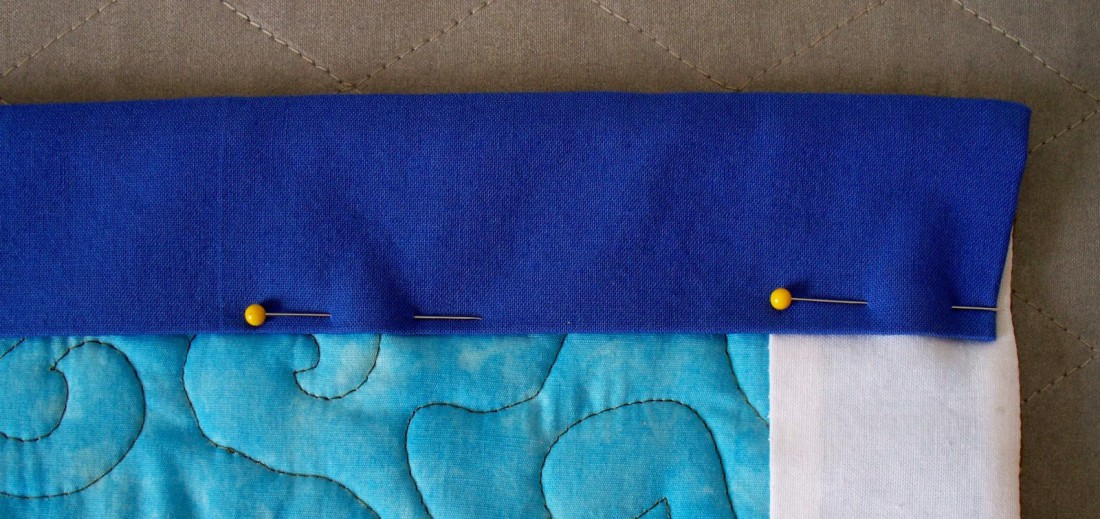
8) Fold the facing in as shown (maybe a bit straighter than mine), covering the seam allowance. As in step #4, press the facing all the way to the back so it doesn’t show on the front of the quilt. If the corner is too bulky, trim out some of the batting or a bit of the seam allowances that will be covered.
9) Pin the facing in place and hand stitch along the pressed under edge. Repeat for the bottom of the quilt.
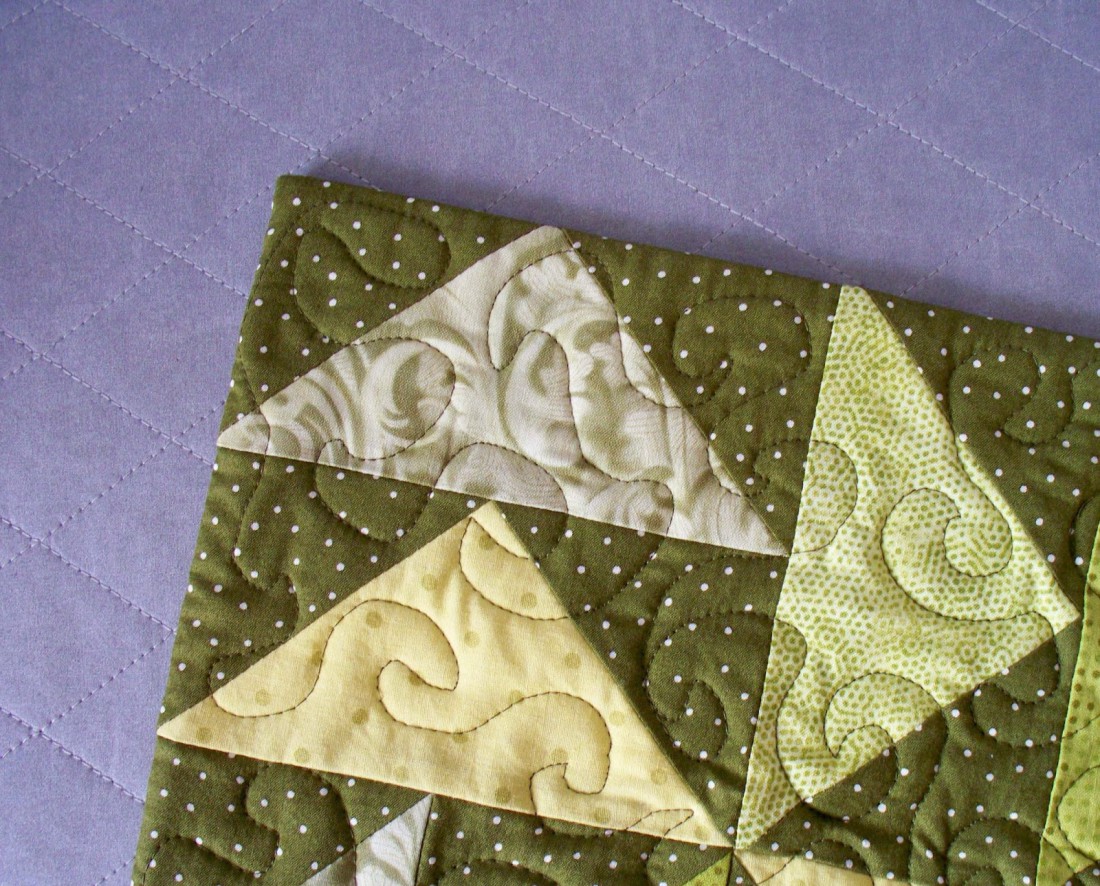
10) The final view from the front! Your flying geese points are probably better than mine, but I hope you get the idea here 🙂


Gayle Ballinger
Posted at 08:12h, 03 MarchI can see how facing some quilts, especially more "modern" ones would really set off the design. Thanks for the tute! I just cut up a Marquis layer cake to make your Basic Math Quilt from Moda Bake Shop for my neice as a wedding present. I love having the bigger blocks that showcase the pretty prints. I also cut some yardage to increase the size since she wanted something a bit larger. I was amazed at how quickly I cut and pieced the blocks… tomorrow I hope to get the layout done. 😀
Marty Mason
Posted at 14:04h, 09 FebruaryYes, thanks for great pictures with your detailed explanation. I've been wanting to learn how to face some of my smaller wall-hanging quilts.
Marg
Posted at 06:47h, 09 FebruaryBrilliant, and perfect timing for me to do this on my hexies quilt. Thank you so much.