01 Sep Linked Pillow-Along: Finishing
I’m back from a wonderful few days away with my family, so let’s get those pillows finished! Today we’ll discuss how to put in a hidden zipper with a flange and how to bind your pillow. Don’t worry – there’s no deadline to get your pillow finished. BUT, if you happen to finish your pillow by September 15 and add it to the Flickr group (or send a picture directly to me (ehq at sbcglobal dot net) if you don’t have a Flickr account), I’ll enter your name in a drawing for a charming little pack of Mama Said Sew fabrics for Moda by Sweetwater.
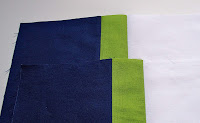
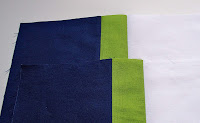
OK, let’s start with the pillow back. After I cut the strips I needed for the pillow front, I had about 8″ of White, 5″ of Nightfall and 2″ of Lime left over. I cut each of these strips in half so there were two of each color. Then I sewed them together into two sets of blue/green/white using a
¼” seam allowance.
Press under 1¼” along one of the white edges. Set these pieces aside for now.
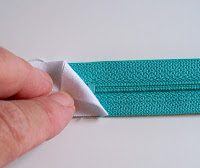
Next cut two zipper tabs each 1″ x 4″. (This size works for an 18″ zipper – if yours is shorter, you will need to make your tabs long enough to add up to about 22″). I used some leftover pieces of my white strips, but any fabric will do. Fold the tabs in half along the 4″ side so they are about 1″ x 2″ folded. Place the folded edge of the tab toward the middle of the zipper about 3/16″ from the zipper stop. The idea is to be able to sew along the folded edge of the tab and not have to sew “through” the zipper stop. I like to pin the tabs in place so they don’t move.
Open the zipper a bit and place the second tab on the open end in a similar manner. I definitely pin here to keep the zipper teeth as close together as possible. Sew along both folded edges of the tabs.
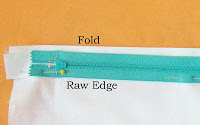
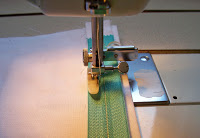
Place the part of the back that has the 1¼” fold, fold side up. Position your zipper, right side down along the raw edge of the fold. Using your zipper foot, stitch along the left side of the zipper. Your bobbin thread will show on the right side of the pillow back.
 Press away from the zipper for now. Place the other half of the back and the zipper right sides together and sew the other side of the zipper in place. Turn the pillow back right side up and press the flange back over the zipper. Trim the back to 20″ square.
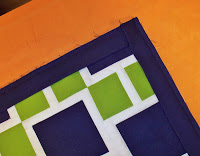 Place your pillow back and pillow front WRONG sides together and pin in place. Join the two 2½” blue binding strips at the short ends. I often join my binding on the bias, but this time I used a straight seam and pressed it open. Press the binding strips in half lengthwise.
Bind the edges of the pillow as you would any quilt. I love hand stitching and if I didn’t have 7,000 quilt projects I want to make, I’d hand stitch my binding every time. But since I do (and for those of you who aren’t fans of hand stitching) I use Rita of Red Pepper Quilts’ method. It takes a bit of practice to get the stitching on the back even, but it is so worth it!
The short version of her tutorial is: attach the binding as if you were hand stitching – on the front of the quilt. Press the binding to the back. Pin it in place, covering the seam you just stitched, so you can see the pins from the front. From the front, stitch in the ditch along the seam where you attached the binding.
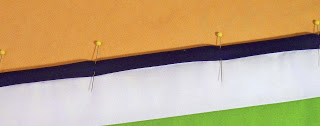 |
| Binding Pinned – View from back |
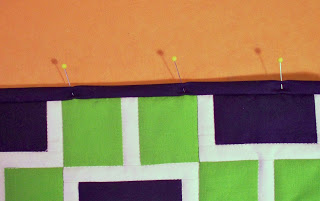 |
| Binding Pinned – View from front |
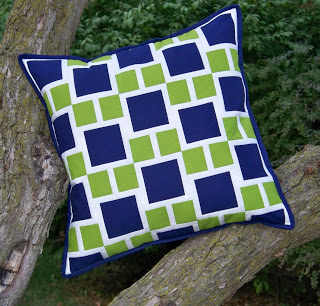
Stuff the pillow form inside and enjoy! As you can see, my new version of Linked likes to relax in the tree in my yard 🙂
If you have any questions, please don’t hesitate to ask them here or in the Flickr group. Have fun!





Natalie
Posted at 16:40h, 25 Septemberomg I’m so excited to make this!!! 🙂
QLT812
Posted at 00:50h, 16 SeptemberI adore your design and love the fabric colors you selected and thanks for showing how to do the hidden zipper :-)…
Leanne
Posted at 16:21h, 02 SeptemberThank you for such a clear description of how to do the zipper. I am going to get some longer zippers and follow this for my next pillow.